
Plastering guides
From an understandable choice to the last connection.
On this page
Your plastering, step by step.
This is what the process looks like: six drawn steps from a first plan to a well-kept wall or a smooth ceiling.

Tell us about your plans
Send overview photos and an assessment of the wall and ceiling meters. Discuss the desired finish and record the work.
Prepare the room
Make space and protect floors, window frames and fixed parts according to appointment. Tune who takes care of the preparation.
Check the substrate
Allow adhesion, damage and material transitions to be assessed. The chosen structure determines the repair and any pre-treatment.
Apply the plaster
The agreed layers are applied and finished. Smooth, ready to be covered or with structure: the desired appearance is the starting point.
Let it dry well
Follow the agreements on ventilation and indoor climate. Check the actual condition before paint or wallpaper is applied.
Check the finish and plan the next step
Check the agreed surfaces and connections. Record any points and tune the transfer to paint or decorate.
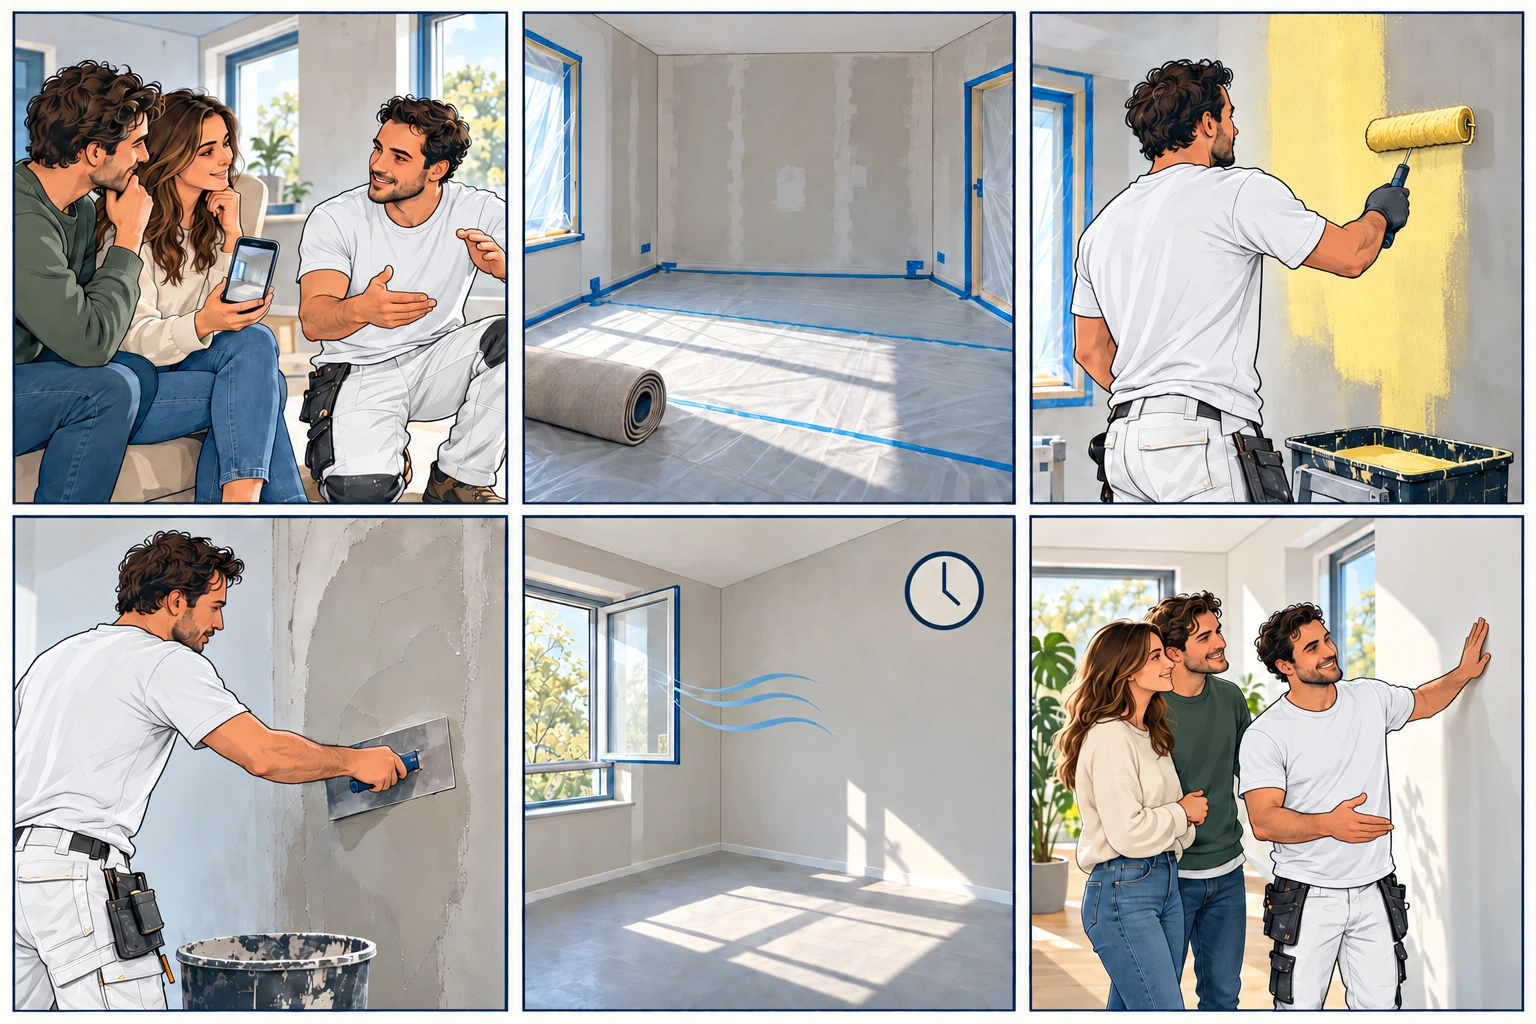
Designed step-by-step plan. The precise work and drying time are tailored to your home and the chosen materials.
Find the answer that suits your phase
A good choice starts with substrate, final finish and the order of work. Use the guides for the overview and blogs for targeted questions.
Paint-ready or wallpaper-ready?
A wallpaper steel or the product name of the paint helps to make the expectations concrete. Discuss smoothness and flatness separately and pass on the final lighting. The chosen finishing level does not automatically contain the primer, paint or wallpaper itself.
Read more →Before the plasterer arrives
Write down which furniture and parts must be removed, who provides protection and which installation work is still running. Tune your own removal work with the performer. Have cleared walls revisited, because additional damage can be seen under old layers.
Read more →Drying and ventilating new plaster
Drying time does not follow from one fixed calculation. Check the conditions of plaster and follow-up and discuss the indoor climate. Strong local heating and forced drying are not applied without coordination. A pre-painting check prevents an unclear transition between performers.
Read more →When can you paint new plaster?
Review drought, dust and suction and choose pre-treatment together with the paint. Capture who does sanding, cleaning and primer. A shiny colour or light that falls along the surface can influence the desired vision; so pass on that choice before the plaster is delivered.
Read more →Preparing different substrates
Concrete, masonry, plates and existing layers have different properties. Note product names and previous treatments and tone material transitions. The suitable primer and build-up of the plaster layers follow from the substrate and the chosen system. A strong end layer makes a loose substrate not reliable.
Read more →How to get a smooth ceiling
A smooth ceiling is assessed with the agreed lighting and the desired finish. Tune out central boxes, spots, rails and work height. Restoring large deviations in flatness is a different task than simply applying a fine finish layer.
Read more →Cracks and damage in plaster
Make images of the crack and surroundings and note whether the site changes. A stable surface damage can be treated differently than continuous movement or damage due to moisture. A patch repair is not automatically a solution for a structural cause.
Read more →New-build or renovation plastering
A new home contains different materials and connections; an existing home can have old layers and hidden damage. In both cases, the appropriate construction is chosen after assessment. Finishing thin is not a general solution for an uneven or insufficient strong substrate.
Read more →Understanding a plastering quote
Keep wall and ceiling gauges separately and decide on gross or net measurements. Ask which preparation, protection, materials and follow-up finishes are included in the amount. Finally, compare a total inclusive VAT with clear exclusions and agreements about extra visible damage.
Read more →Checking finished plasterwork
Check surfaces, edges, corners and the agreed finish. Note improvement points with location and image. Discuss the drying control and what follow-up work is still needed. Save material data and maintenance instructions so that aftercare does not start with unknown products.
Read more →Good materials.
A strong base.
We work with Knauf and adjust the material structure to your wall or ceiling. Discover other well-known brands for plastering, preparation and finishing.

Knauf
Gypsum plasters, including MP 75 and Goldband, and primers for preparing the substrate.
Primers & gypsum plasters
Gyproc
Gypsum plasters, jointing compounds and primers for building and finishing walls and ceilings.
Plastering & wall finishes
Strikolith
Ornamental plasters and finishing materials for interior walls and facades, with different structures.
Decorative plaster & facade finishes
Weber Beamix
Cement-bound plaster mortars for rocky surfaces, with indoor and outdoor products.
Cement-based plaster mortarsFind the advice you need
Find the explanation for your next step
Choosing a finish
Compare smooth, ready to mount and structure. Look not only at a product name, but also at the light, the end material and the state of the existing wall.
Planning the work
Clear the work per room. Vote preparation, installations, access and drying before the planning is secured.
Comparing costs
A good comparison contains the same meters, the same preparation and the same desired finish. Look at the total work package including VAT.
Repairing damage
First examine the cause and the substrate, then determine whether local repair is appropriate or whether a larger visible surface is included.
Discuss your plastering project.
Send your wishes, images and estimated dimensions. We will check which preparation and finishing suits your home.