
Our work and plastering details
images and attention to the finish.
On this page
Plasterwork in detail
The work images below illustrate the finishing of a wall and ceiling. The captions explain the details that count in an appropriate final layer.
A closer look at the work.
These real photographs illustrate plastering techniques and finishes. They are inspiration images, not project references for Stucadoor Gigant.
3 working images
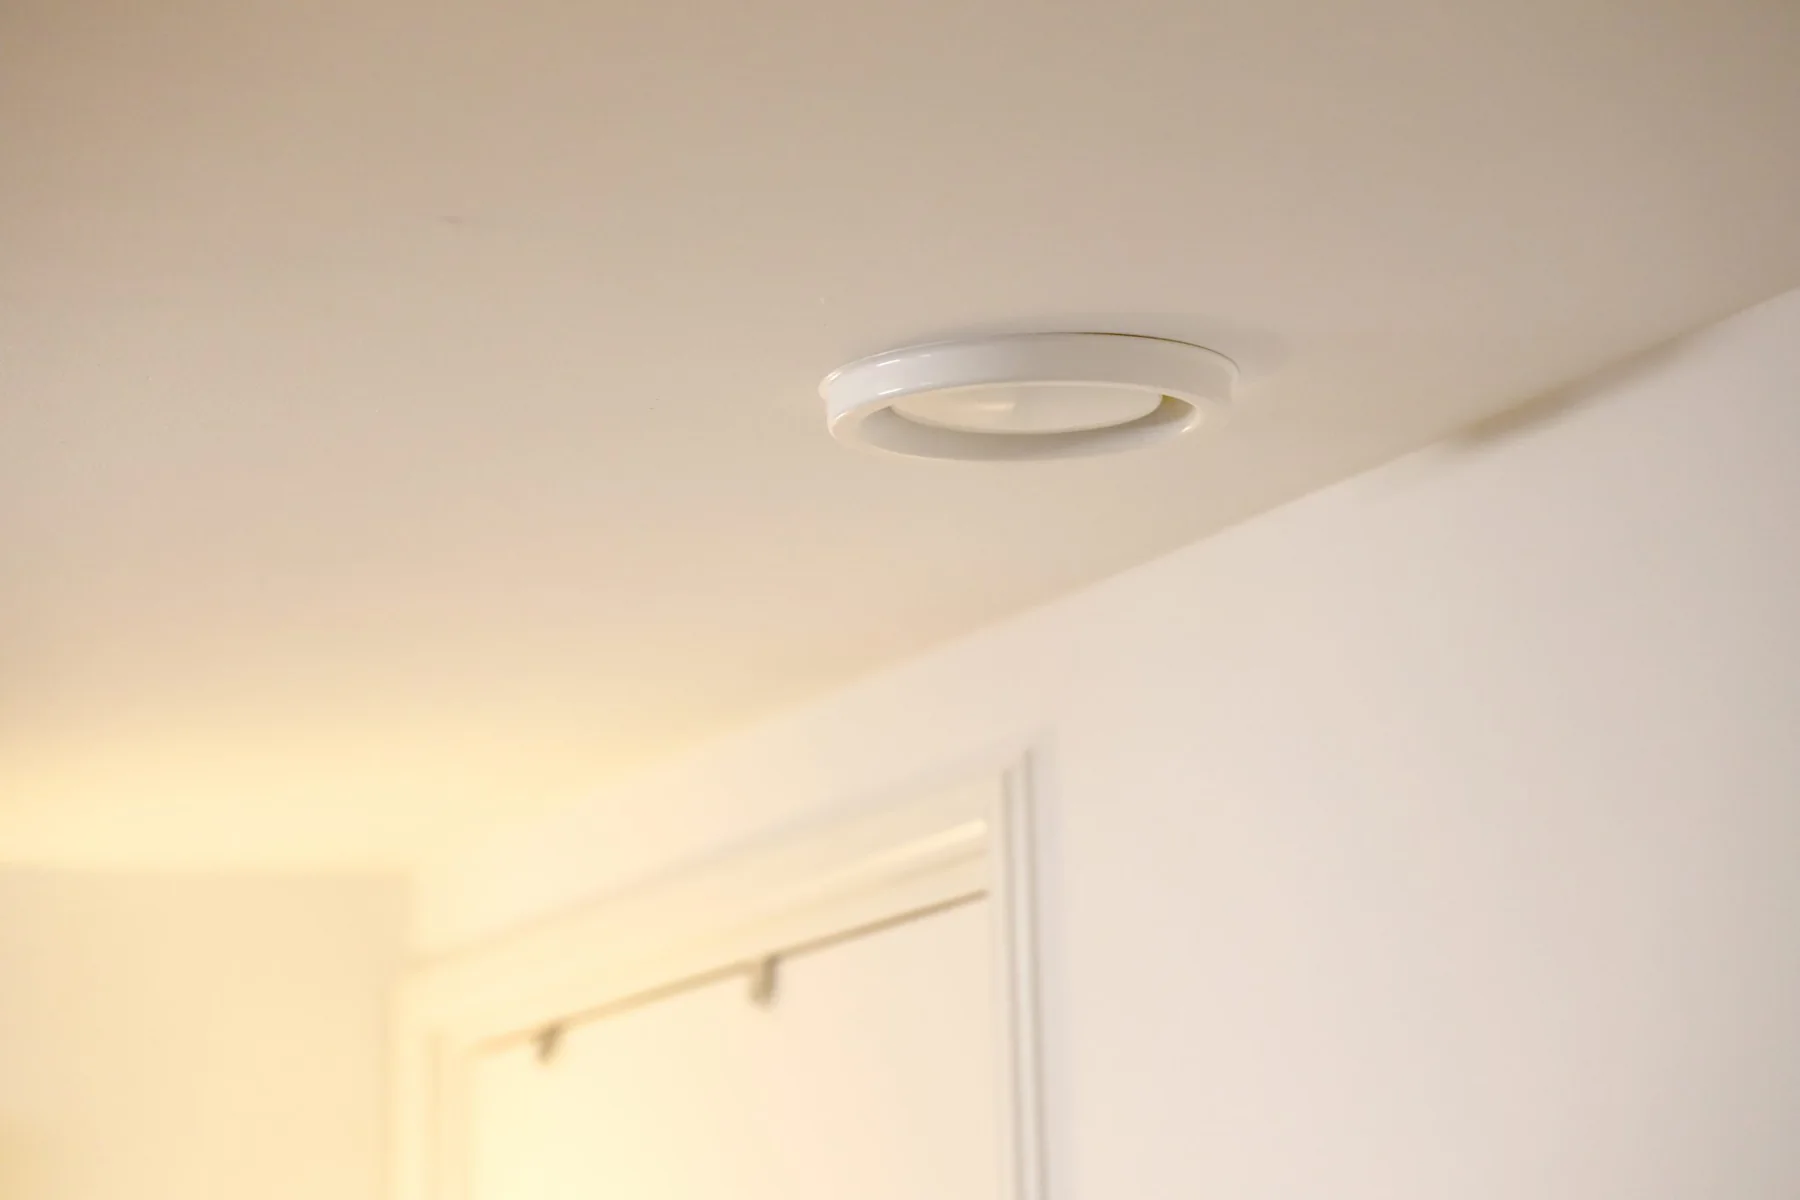
The even ceiling finish connects to the wall edge and the light point. Lighting influences how flatness is experienced.
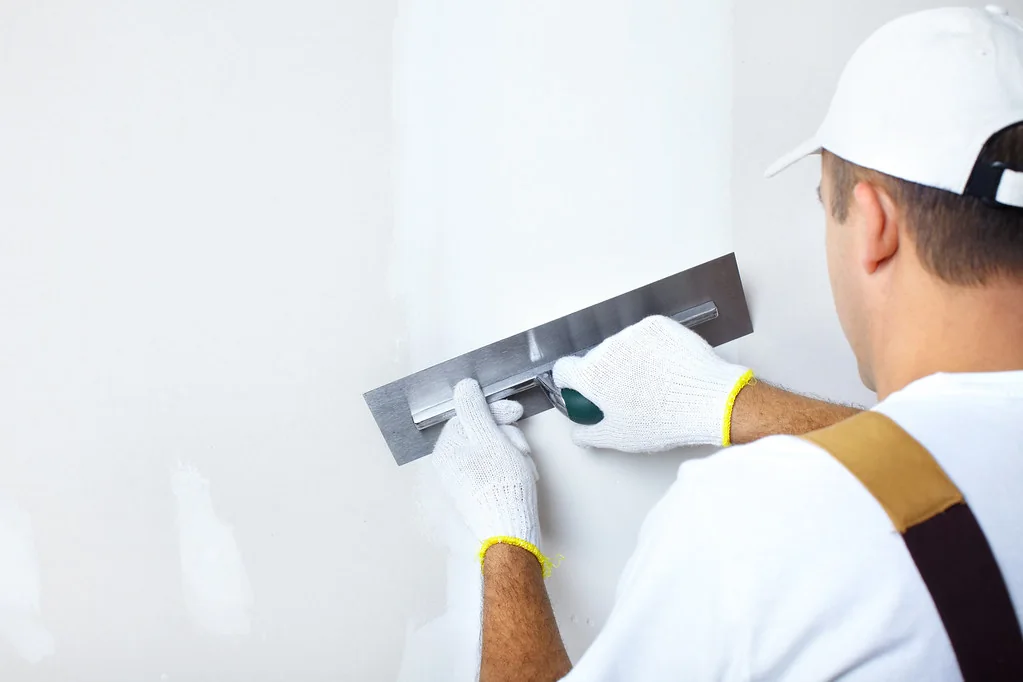
When finishing a wall, substrate, build-up of plaster layers and connection to edges are included.
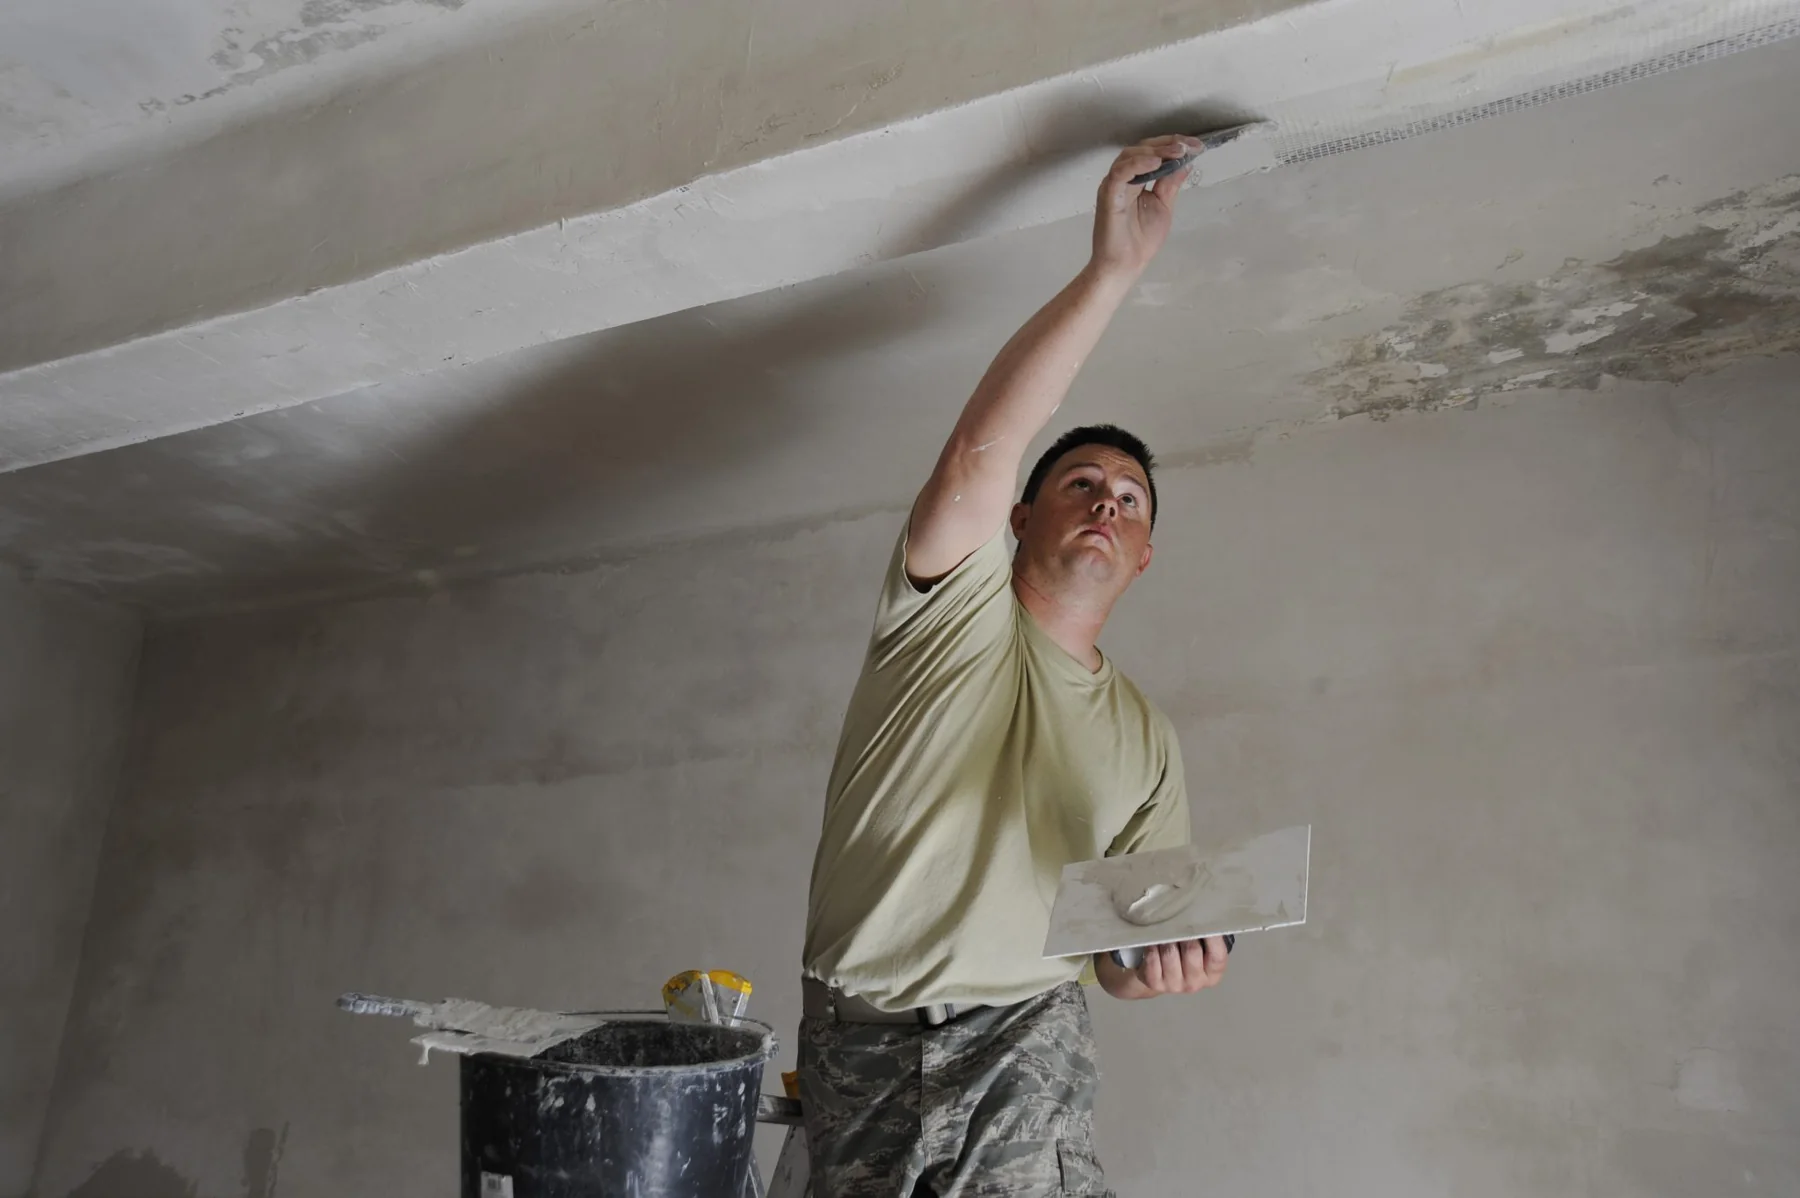
Ceiling requires attention to work access, material and the existing substrate.
The details make the desired appearance
| Detail | Please discuss in advance |
|---|---|
| Wall and ceiling | substrate, flatness and desired end layer. |
| Edges and corners | Connection to windows, niches and fixed parts. |
| Lighting | The light used to assess the surface. |
| Subsequent work | Dry check, primer, paint or wallpaper. |
Questions about a similar finish
What is the difference between paint-ready and wallpaper-ready plaster?
paint-ready connects with painting; ready to be painted on wallpaper. The concrete requirements are discussed with the chosen end material and lighting. Thin wallpaper, paint gloss and light that falls along the surface can make small differences visible.
What is light that falls along the surface?
light that falls along the surface along a surface and highlights small height differences. Windows, LED strips and wall spots can cause this effect. Discuss the final lighting when choosing the desired finish.
Can I send images with a quote request?
Yes. Send an overview per space and details of structure, damage, seams and connections. Specify what needs to be finished and avoid unnecessary personal information on the image.
Can local repair remain visible?
Yes, colour, grain or structure may differ. Discuss whether to restore locally is sufficient or that the entire vision surface is refinished. Take the follow-up work into the scope.
What you can look at in an image
An image shows what a finish can look like, but doesn't tell all the conditions of the assignment. For example, pay attention to connections, the connection between wall and ceiling and the influence of the light. For your home we review the substrate and the desired finish.
| Component | What should you discuss? |
|---|---|
| Long sightlines | How does the wall or ceiling surface pass through the room? |
| Edges and junctions | How does the finish end with a frame, angle or light point? |
| Light | Do you see daylight, spots or light falling along the surface? |
| Subsequent work | Which paint, upholstery or decoration determines the desired appearance? |
Do you have an example that appeals to you? Send it along with images of your space. Name what you like: a quiet surface, a certain structure or a smooth connection. That makes the conversation more focused.
Discuss your plastering project.
Send your wishes, images and estimated dimensions. We will check which preparation and finishing suits your home.